EV Charger Installation: A Homeowner's Practical Guide
April 22, 2025 · 11 min read · VoltGuard Master Electrician Team
Home charging is the single best part of owning an electric vehicle. Plug in once a night, wake up to a full battery, never visit a gas station again. But the wide gap between a cheap install and a properly engineered one shows up the first time something goes wrong — a tripped breaker on a sub-zero morning, a warm receptacle behind the wall, an insurance claim denied because the work wasn't permitted. The way to avoid all of that is to understand what a Level 2 install actually involves before you sign a quote.
Practical electrician guide: EV Charger Installation: A Homeowner's Practical Guide
Here is how a master electrician walks through an EV charger install from first phone call to a finished, permitted, code-compliant circuit you can trust.
Step 1: Pick the right Level 2 charger
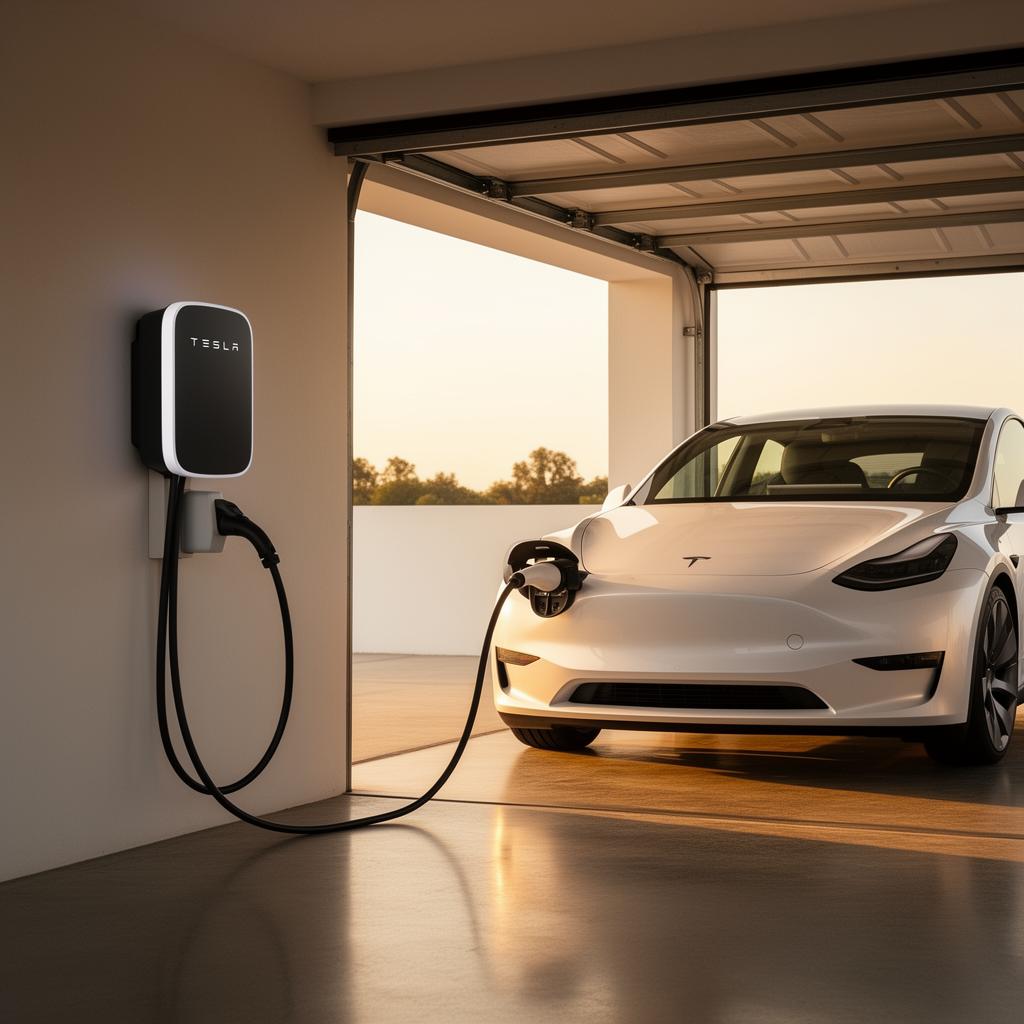
Level 2 chargers run on 240 volts and typically deliver 7.7 kW to 11.5 kW (32 to 48 amps continuous). That translates to 25 to 40 miles of range per hour — enough to fully refill almost any EV overnight. The most common units we install are the Tesla Wall Connector, ChargePoint Home Flex, Wallbox Pulsar Plus, Grizzl-E Classic, and Emporia EV. Above 48 amps you need a 100-amp circuit, your panel needs serious capacity, and most EVs cannot accept the higher rate anyway. For 95% of homeowners, 48 amps hardwired or 40 amps on a NEMA 14-50 is the right answer.
Step 2: Hardwired or NEMA 14-50?
Hardwired installs land the charger directly on the wire — no plug, no receptacle. That allows up to 48 amps continuous, removes a known failure point (cheap 14-50 receptacles burning up under EV loads is a documented problem), and is required by some manufacturers for the highest charge rates. NEMA 14-50 caps you at 40 amps continuous (the receptacle has to be rated for 50 amps because of NEC's 80% continuous rule) and gives you portability — you can move the charger to a new house, or take a portable EVSE on the road. For permanent home installs, hardwired is the safer, faster, and longer-lived choice.
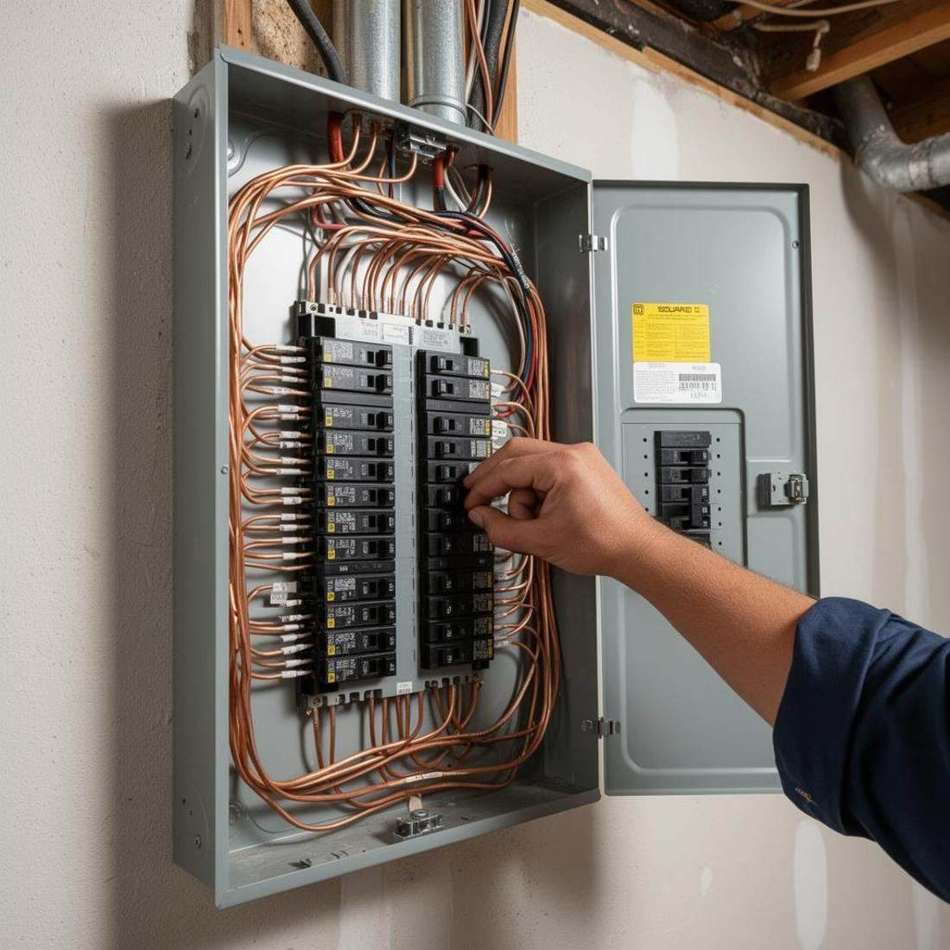
Step 3: Run the load calculation — NEC Article 220
This is where almost every cheap quote goes wrong. The National Electrical Code requires a documented load calculation before you add a new continuous load like an EV charger. The calc adds your existing demand (general lighting, appliances, HVAC, water heater, etc.) plus 125% of the new charger's amperage and compares the total to your service capacity. If the result exceeds your main breaker rating, you have three options: upgrade the service (typically 100A → 200A), install an Energy Management System (DCC-12, NeoCharge, Wallbox Power Boost, or built-in load sharing) that throttles the charger when the rest of the house is drawing heavily, or accept a lower-amperage charger.
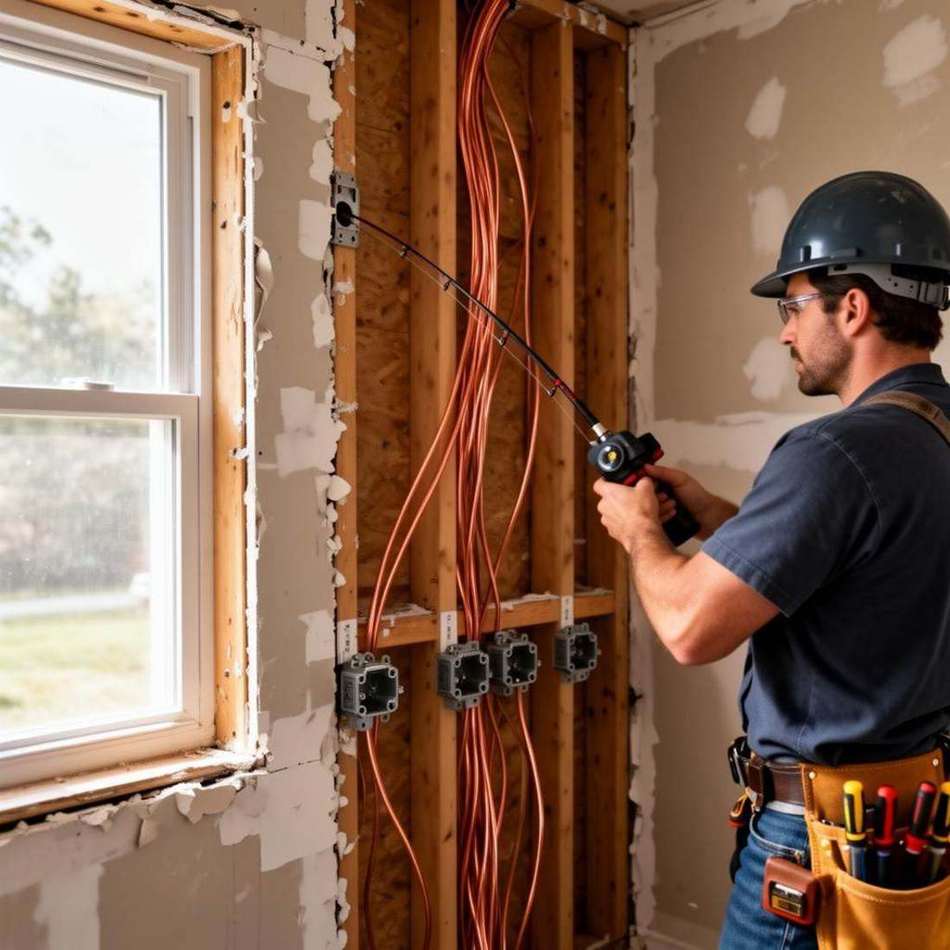
Step 4: Plan the conduit run
Wire size, conduit type, and run distance drive a big portion of the price. A 10-foot run from a basement panel to an attached garage wall is a $300 conduit job. A 90-foot run through finished walls, across the ceiling, and out to a detached garage is a $1,500+ conduit job — same charger, same breaker. We walk the route on the site visit, identify pull points, and tell you upfront how much of the cost is circuit work versus charger hardware. If the run crosses a driveway or a yard, we coordinate with your gas/water/internet locates before trenching.
Step 5: Pull the permit, schedule the inspection
Yes, your EV charger install needs a permit in virtually every U.S. jurisdiction. Yes, the inspector should sign it off before you put the cover plate on. This isn't paperwork bureaucracy — it's how your homeowner's insurance stays valid if there's ever a fire, and it's how your utility will let you participate in time-of-use or EV rate programs that can cut your charging cost in half. An unpermitted install is the kind of thing that turns a $1,200 problem into a $40,000 problem.
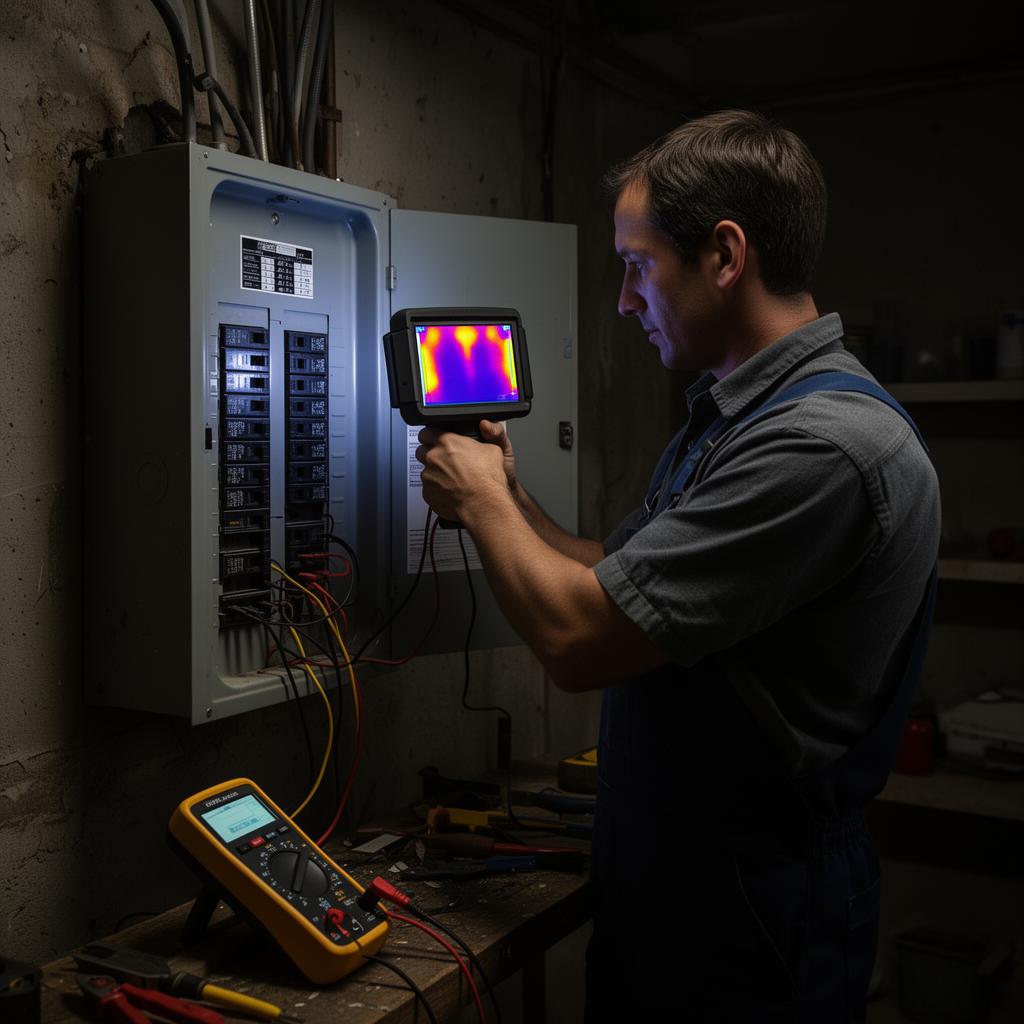
Step 6: Commission, test, and pair
On commissioning day we energize the circuit, measure voltage at the receptacle or charger terminals, run a full charge cycle to verify the breaker holds at continuous load, and pair the charger to your Wi-Fi or app of choice. We also walk you through scheduled charging, the manufacturer warranty (almost every charger needs to be registered to activate the full warranty), and any utility rebate paperwork your state offers.
How much should you pay for a Level 2 install?
For a straightforward hardwired Level 2 install on a 40-amp circuit, with 30 feet of conduit, a breaker, a permit, and a final inspection, expect $900 to $1,800 in most U.S. metros — not including the charger itself. Long runs, detached garages, panel work, or trenching push that to $2,000–$3,500. If a full service upgrade is needed first, add $2,400 to $4,200 for the panel work.
Federal and state EV charger rebates
The federal Alternative Fuel Vehicle Refueling Property Credit covers 30% of qualifying residential charger and install costs (up to $1,000) in eligible census tracts through 2032. Many states and utilities stack additional rebates on top — California, New York, Massachusetts, Colorado, Oregon, and Washington all run active programs. We hand you the documentation you need to claim every credit you qualify for.
Common EV charger install mistakes to avoid
- Installing a 14-50 receptacle on a 50-amp breaker without confirming the receptacle is rated for continuous duty.
- Skipping the GFCI requirement for outdoor or garage receptacles.
- Running undersized wire that derates badly in conduit or at high ambient temperatures.
- Hardwiring to a non-grounded sub-panel.
- Forgetting to upsize the conductor for voltage drop on runs over 100 feet.
Ready to schedule?
Every install starts with a site visit (in-person or virtual) and a load calculation. Call (626) 618-8360 24/7 and we'll book a free estimate. Most installs are completed in one visit, typically within a week of approval.